Folks shave their heads for many reasons, including personal style, ease of maintenance, at the sign of male pattern baldness, or even medical reasons. Whatever your motivation, using a safety razor correctly for the task can yield a smooth, irritation-free, close shave when done correctly.
This step-by-step guide will outline how to prepare your hair, choose the right safety razor, and use proper techniques for a close, clean shave.
Key Takeaways
- Start by trimming your hair to a stubble length of about 1/8 inch or less.
- Prepare your scalp with a hot shower and deep cleanse, using gentle shampoo and conditioner.
- Apply pre-shave oil for extra protection and an enhanced shaving experience.
- Use a rich lather of high-quality shaving cream or soap, optionally applying it with a shaving brush for even better results.
- Master the art of shaving your head with a safety razor by finding the optimal razor angle, using short passes, and shaving with the grain.
- Take care of your scalp after shaving by thoroughly rinsing with cool water, applying an alcohol-free aftershave balm or lotion, and protecting your head from the sun with a daily moisturizer containing SPF.
- Regularly inspect your scalp for any signs of irritation or issues, and adjust your shaving technique or products as needed to ensure a comfortable and satisfying head shave experience.
Step 1: Give Your Head a Pre-shave Trimming
Before tackling your head with a safety razor, use electric clippers, an electric razor, or balding clippers to trim your hair as short as possible. This will make the subsequent steps much easier and less prone to nicks, cuts, or clogging the razor.
Ideally, you should trim your hair down to a stubble length of about 1/8 inch or less, ensuring that the safety razor will glide effortlessly across your scalp without getting caught on longer strands of hair.
This step will also reduce the number of passes needed with the safety razor, minimizing the chance of irritation once you have finished shaving.
Step 2: Prepare Your Scalp with a Hot Shower & Deep Cleanse

Preparation is key for a smooth shave. A hot shower helps soften the hair and open up the pores, allowing your safety razor to glide smoothly across your head. Warm water will also help to soften the hair follicles, making it easier for the razor to cut through them without pulling or tugging. In fact, Gillette claims that just exposing your hair to hot water for 3 minutes can reduce the amount of force needed to cut it by 70%.
Additionally, the exposure will help to make your skin supple and more pliable, reducing the likelihood of nicks and cuts.
While in the shower, use a gentle shampoo and conditioner to cleanse your scalp thoroughly, removing any dirt, oil, or product buildup. You can even use a gentle exfoliating scrub to slough off any dead skin cells.
Remember to rinse well, ensuring that no residue is left behind, as this can cause irritation or hinder the razor’s performance. Once your scalp is thoroughly cleansed and softened, gently pat it dry with a clean towel, leaving just a slight dampness.
Step 3: Apply Pre-shave Oil for Extra Protection
Some folks find that pre-shave oil isn’t necessary, but others swear by its ability to provide extra protection and enhance the overall shaving experience. Pre-shave oil acts as a barrier between your skin and razor blade to reduce overall friction. While it is not a substitute for shaving cream or gel, it can complement these products and help you achieve a smoother, closer shave.
To apply pre-shave oil, take a few drops and gently massage it into your scalp, covering the entire area you plan to shave. Be sure not to use too much, as an excessive amount can cause overly slick conditions, leading to an inefficient shave. Allow the oil to sit on your scalp for a minute or two to let it fully absorb and create a protective layer.
Note: Pre-shave oil won’t cause your head to look oily, greasy, or shiny afterward. It simply adds an extra layer of protection and comfort during the shaving process and will be washed away with the rest of your shaving products after you finish.
Step 4: Get Ready to Shave with a Rich Lather

Shaving cream insulates your scalp, keeping it warm and protected, while also creating a smooth surface for the razor to glide across. While you can use your standard shave gel or cream that you may already have, consider investing in high-quality shaving cream, shaving soap, or a switch to a scuttle that provides greater cushion and lubrication for a more comfortable shave.
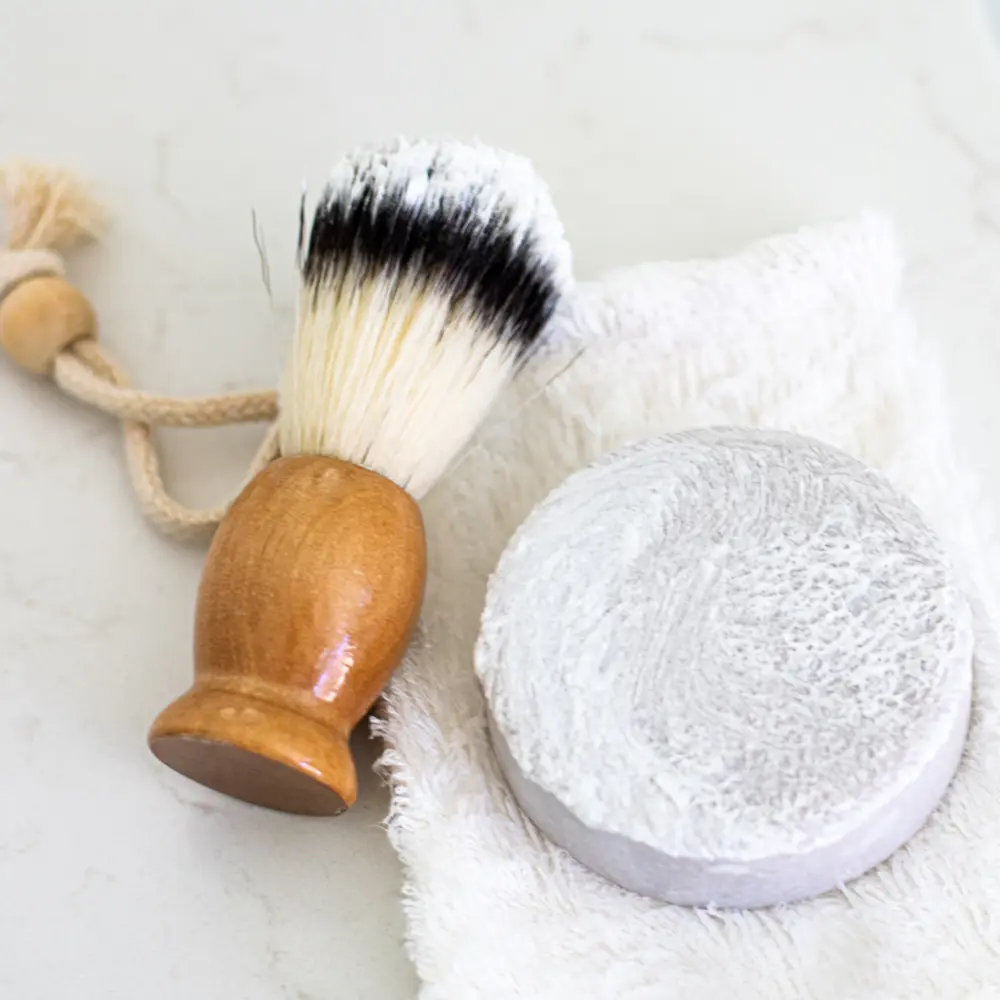
Furthermore, if you want to elevate the shaving experience even more, try using a shaving brush to apply the shaving cream or soap. A shaving brush can better distribute the product, lifting the hairs for easier cutting and creating a thicker, more luxurious lather.
To use a shaving brush, wet the bristles with warm water and load them with shaving cream or soap. Then, in circular motions, apply the product to your scalp, making sure to cover the entire area you plan to shave. The brush will not only help distribute the cream or soap evenly but also gently exfoliate your scalp, removing any lingering dead skin cells and further preparing your skin for the shave.
Once your scalp is fully lathered, be sure to set aside the shave brush and use it for any additional passes if needed.
Step 5: Proper Techniques for Shaving Your Head with a Safety Razor
Now that your scalp is well-prepared, it’s time to shave. Here are three essential techniques for a successful head shave with a safety razor, whether it’s a double edge safety razor or a single edge razor.
Find the Optimal Razor Angle
Safety razors, including Merkur and Leaf versions, work best at a 30-degree angle. To achieve this angle, place the head of the DE razor flat against your scalp, then tilt the handle downward slightly.
Too open of an angle will cause the razor to scrape your skin, while too closed of an angle will not allow the blade to properly cut the hair. It may take some practice to find the perfect angle and overcome the learning curve, but once you do, the razor will glide smoothly across your scalp, providing a close, comfortable shave. Remember to use short strokes while maintaining the proper angle.
As you shave your head, it’s important to understand the overall shape and contours, especially when dealing with a bald head or dome. This will help you adapt your shaving technique as you move from one area to another. Keep in mind that the back of the head, especially near the occipital bone, can be tricky, so take your time and maintain a steady hand in these areas.
For beginners, we recommend practicing just on the sides and top of the head at first, before moving on to the trickier areas. As you gain confidence and experience, you’ll be better prepared to tackle the more challenging spots on your head.
Use Short Passes for a Steady Shave
Instead of long, sweeping strokes like a cartridge razor, safety razors work best with shorter, more controlled, short strokes. This allows you to maintain the proper angle and pressure while also reducing the risk of cuts and nicks.
Your passes should be no longer than 1-2 inches, be slightly overlapping, and try to avoid pressing the razor against your skin. Let the weight of the razor do the work for you, and if you feel like it’s not cutting effectively, try adjusting the angle slightly rather than applying more pressure. Remember, slow and steady wins the race when it comes to safety razors, so take your time and be patient.
Shave with the Grain
Just like when you shave your face or beard, understanding the direction of hair growth is crucial for a comfortable head shave. Shaving with the grain (in the direction the hair is growing) will reduce irritation, razor burn, and the likelihood of razor bumps.
Take note of the hair growth pattern on your head before you begin shaving, as it can vary from person to person. Start by shaving with the grain, using gentle pressure and maintaining the proper angle. If you desire a closer shave, you can do a second pass across the grain (perpendicular to the hair growth direction), but avoid going directly against the grain, as this can lead to increased irritation and ingrown hairs.
If you do decide to do multiple passes with your safety razor blades, be sure to reapply shaving cream or soap with your shaving brush between each pass, as this will help maintain lubrication and protection throughout the shaving process. Additionally, remember to rinse your safety razor frequently during the shave to prevent clogging and maintain its effectiveness. A clogged razor can lead to uneven shaving and increased irritation, so keeping it clean is essential for a smooth, comfortable experience.
Work in Sections
When shaving your head, it’s best to separate the work into sections, as this allows for more precision and control. You can start with the sides, moving from the front to the back, and then proceed to the top of your head, shaving from the front hairline to the crown.
Finally, tackle the back of your head, moving from the top to the bottom. This systematic approach ensures even coverage and reduces the risk of missed spots or uneven patches.
Step 6: Aftercare for Your Shaved Head

After you have shaved your head to your satisfaction, it’s important to take proper care of your scalp to maintain its health and comfort. Start by thoroughly rinsing your head with cool water to remove any remaining shaving cream or debris, and to close the pores. Then, gently pat your scalp dry with a clean towel, avoiding any rough rubbing or pulling.
Next, apply an alcohol-free aftershave balm, lotion, or splash to your scalp.
This will help soothe any irritation, reduce redness, and provide a moisturizing barrier to keep your skin feeling soft and hydrated. Look for products with ingredients like aloe vera, chamomile, or witch hazel, as these have soothing and anti-inflammatory properties. Avoid products with alcohol or harsh chemicals, as they can dry out your skin and cause increased irritation.
In addition to aftershave balm or lotion, consider applying a daily moisturizer with SPF to your scalp, especially if you spend a lot of time outdoors. A shaved head can be more susceptible to sunburn, so protecting your scalp from harmful UV rays is crucial for maintaining its health and preventing skin damage. Look for a broad-spectrum sunscreen with an SPF of at least 30, and be sure to reapply it throughout the day as needed.
Finally, regularly inspect your scalp for any signs of irritation, ingrown hairs, or infection, and address these issues promptly. If you notice any persistent redness, itchiness, or discomfort, consider adjusting your shaving technique or products to better suit your skin type and needs. Be mindful of your skin’s sensitivity, and take the time to adapt your habits and methods.
Remember that everyone’s skin is different, and it may take some trial and error to find the perfect combination of products and techniques for your head shave.
Alternatives
Outside of safety razor use, there are several other alternatives for shaving your head, such as cartridge razors, disposable razors, and even depilatory creams. Each of these options has its own advantages and drawbacks, so it’s important to weigh the pros and cons before deciding which method is best for you.